
 You can see the table peeking out on the right.
The little closet is now a toy/book storage area as well as a workspace for my two girlees! Details to follow.
After the office space was completed, I attempted to create my own version of Ana's upholstered toddler daybed in twin size!!!!! Can't wait to share!
First the bookcases....
The finished product! Still a wreck needing to be organized & decorated, but you get the idea!

 Step 1: empty room
 Step 2: Build bases (I decided to build two separate 4' wide bookcases instead of an 8' long one).
 Step 3: Cover the base
 Step4, 5,6, 7 and 8:add upright pieces, add top runner on the wall, add top, add shelves and add face trim.
 To aid in clean up/ ease in preparing for paint, I built the bookcases on flattened paper grocery bags, that way they slipped right out after painting.
 Showing the face trim being installed.
 Last step: Added a piece of crown molding to the top to finish it off.
 Painted primer
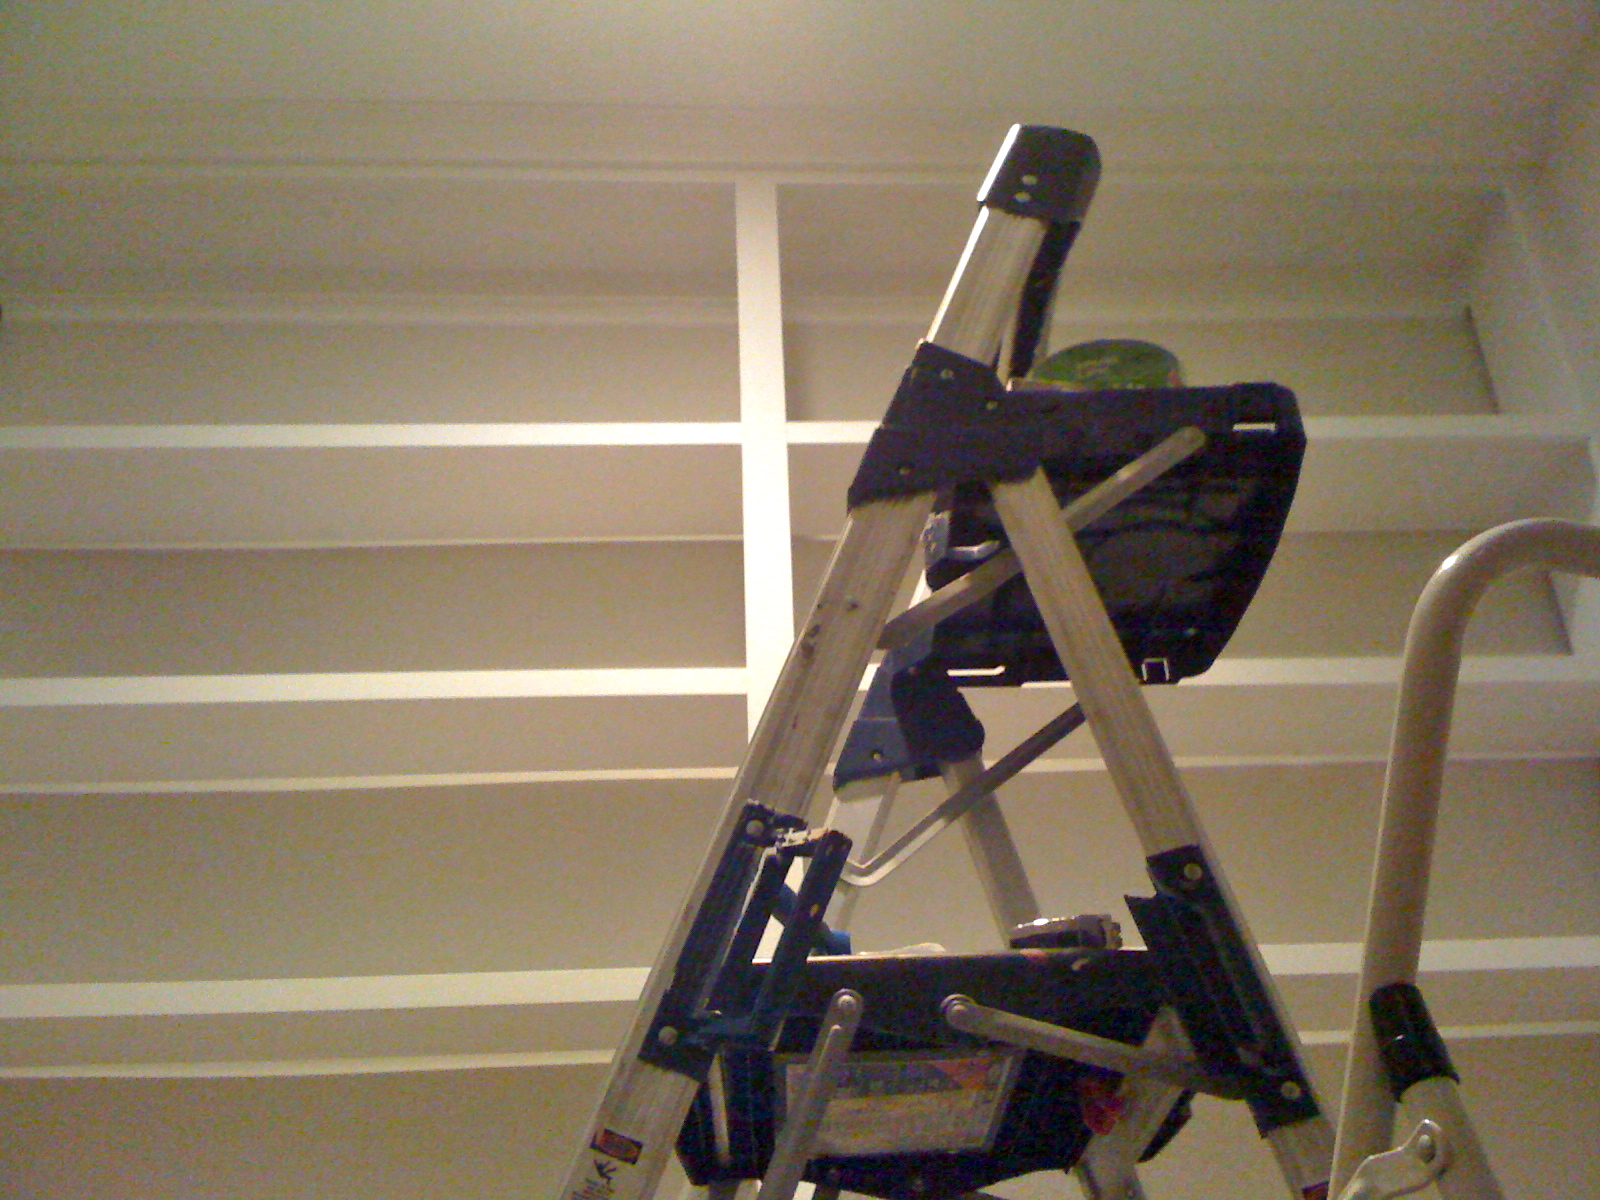 Painted with trim paint.
Not too bad for a weekend project, eh?!


Nice DIY bookcases! I am looking into creating a reading nook with built-in bookcases in my own home. The painting tip with the brown bags was a great idea.
ReplyDeleteHi... Love the bookcases... what kind of paint did you use? Also Do items stick to it after sitting on the shelves for a while?
ReplyDeleteDo you have actual plans for this project?
ReplyDeleteThat is what I Wanted to know.
DeleteIt would also be a good idea to use "L" brackets to secure the bookshelves to the wall so they don't fall/tip -- always a good idea with kids who might be tempted to climb them, but especially here in earthquake country!
ReplyDeleteI would imagine they screwed the base and sides into the walls, but even without that done, the shelves are floor-to-ceiling, so the ceiling would have to somehow move in order for the bookshelves to tip over. There's simply no way for them to tip since there's no space above them to account for the added height of a tipping bookshelf.
DeleteI just found this on Pinterest, it looks fab! I love reading nooks x
ReplyDeletehow is this held together? screws, nails ?
ReplyDeleteI want to know if you have plans or step by step of how you did this. I can figure out most but want to know how did you attach the shelves.
ReplyDeleteLove this bookcase. Could you fix the link to the video? Seeing the video would be so helpful. Thank you.
ReplyDeleteyou can tell the width of the boards based on the no.2 photo. Look at the wall outlet. it must be 4 or 5 inches tall. this can give an rough idea about the board depth.
ReplyDeleteyour description for 4,5,6 ect is not clear on how your building the case
ReplyDelete